Knowledge Base
If you need to reset or restart a step of the reservation process, click the gold reset button:

To completely cancel or start a reservation over, you will need to "Clear Cart/Reset," which can be accessed from any page by clicking the cart icon in the upper right corner. Then click the red Clear Cart/Reset button.
Important note: If you start a reservation that is not completed, the next reservation you enter may contain items from the prior reservation. It is important to Clear Cart/Reset any time you don't complete a reservation.
There are several ways to create a new reservation. From the homepage, you can start the reservation by picking an event/show and showtime:
At the top of the system's main page, there is a carousel with the next 10-12 events at your venue. You can click any one of these buttons to start a new reservation for that event.
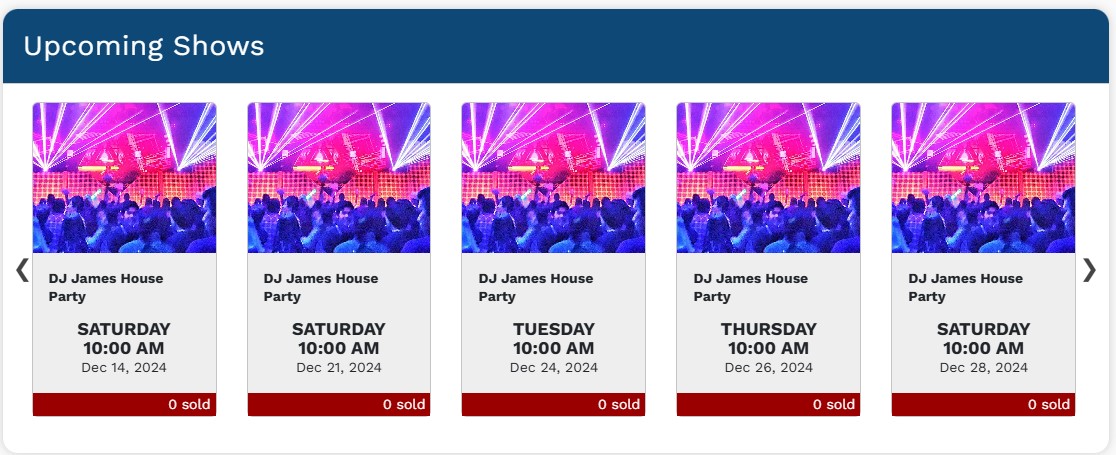
To save confusion, any events that have begun or are in the past will be noted. You can still create reservations for same-day events, even if they are concluded.
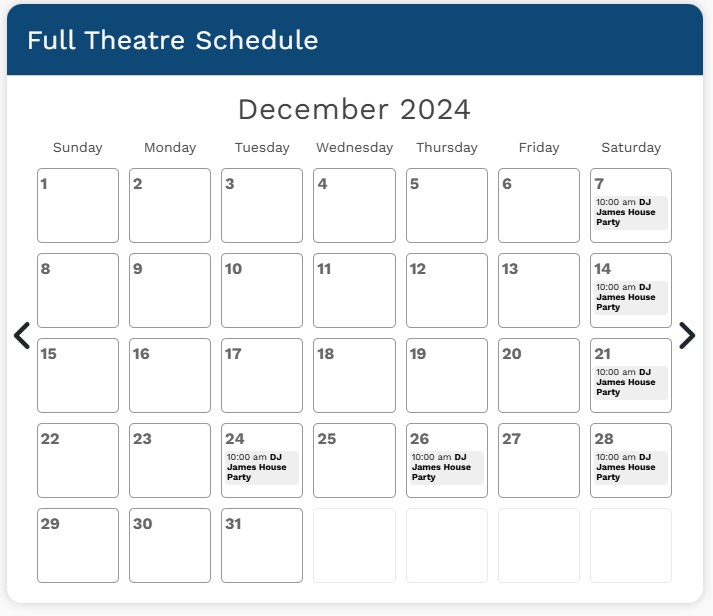
Below the Upcoming Shows block, there is a full calendar with all the events scheduled at your venue.
You can click the < and > buttons to move to a different month. Click on the event and showtime that you want to make a reservation for.
From anywhere in the system, you can click the New Sale/Reservation button to quickly start a new reservation.
On the screen that follows, select the show/event that's needed. Then pick the event date and time for the reservation.
Once your event and showtime are selected, you will be prompted to say if this reservation is for an individual, for a group, or if it will be billed to a third-party.
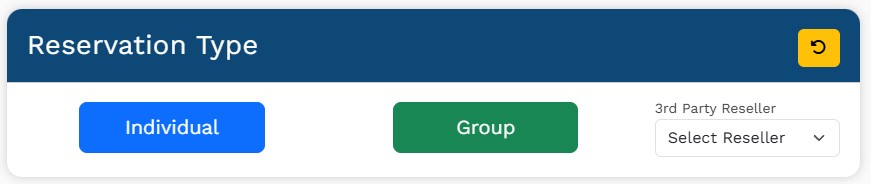
If you are assigning the reservation to a reseller, click the dropdown and select the desired third-party.
You will then be prompted to select which seating section of the venue the customer needs. You can choose from the "Select Section" dropdown in the blue header, or just click on the section in the diagram.
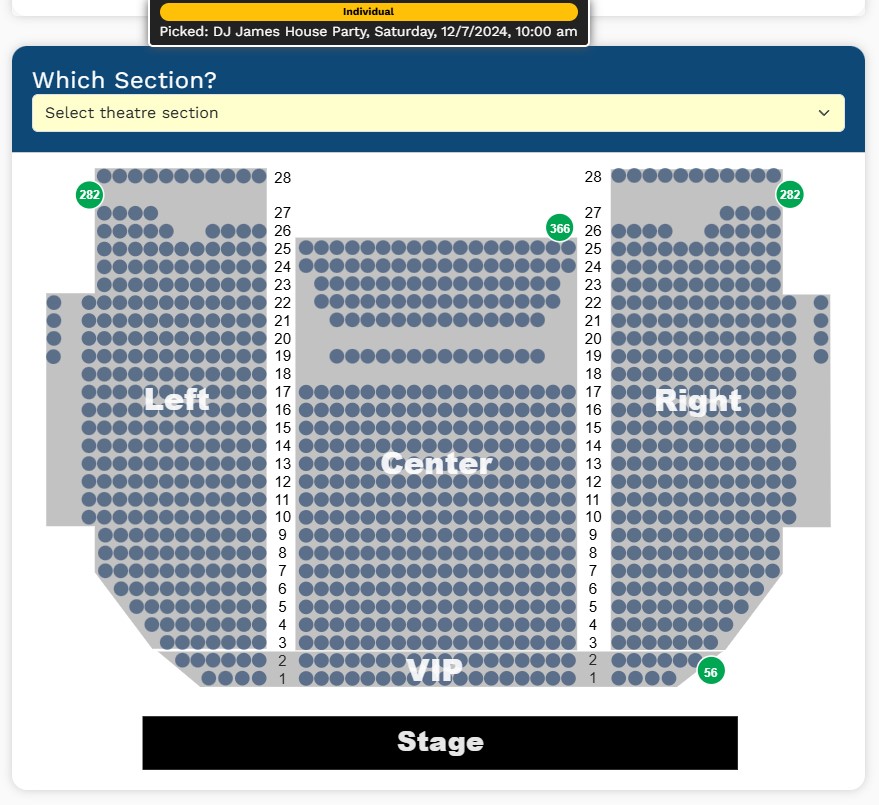
Your selections so far in the process are shown at the top of the screen.
After you pick the venue section, you'll be prompted to enter the quantity of seats needed.
NOTE: Depending on the type of reservation, there may be additional payment "Pricesets" enabled. If that is the case, there will be a dropdown below the "How Many Seats" text in the blue bar. Select the pricing that applies to your reservation.
Click the + or - buttons to add/subtract the number of seats needed.
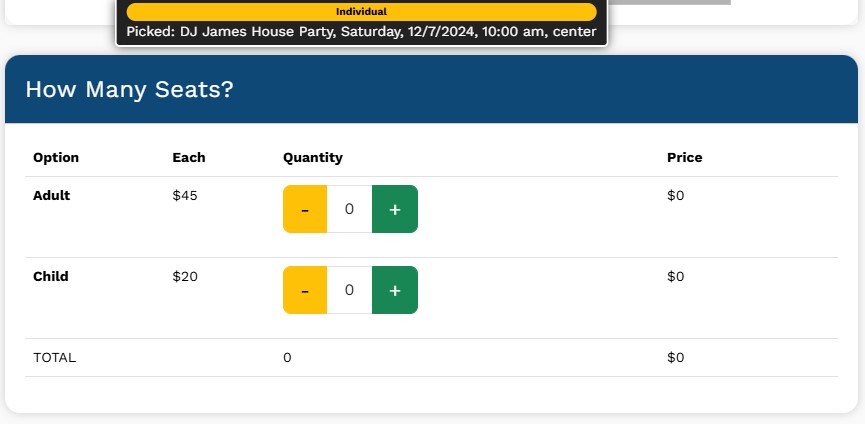
After this has been completed, click Pick Seats.
You will then be shown a detailed seating chart for the section you picked. The system will show you the total number of seats you need to select. Available seats will be shown as dark blue circles. You can pick seats by either:
In some cases, the system will attempt to "autopick" the best available seats in this section. If this option is provided, you can click "Accept Autopicked Seats" to proceed with the suggested seats
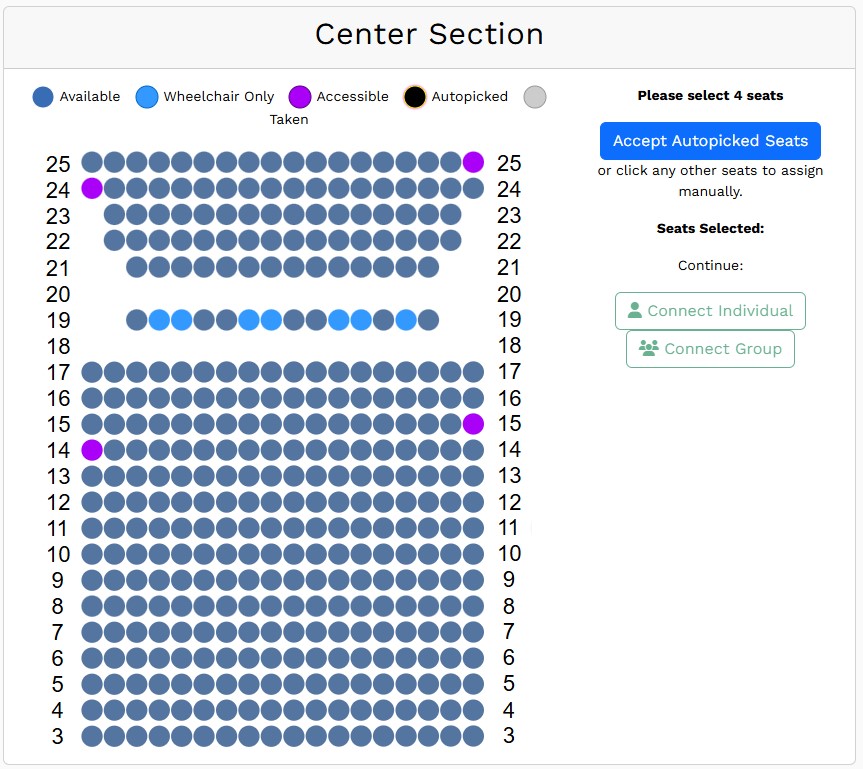
Note: If you make a mistake, you can click the gold "reset" button at the top of the screen to reset your seat selections.
After you have selected the required number of seats, the diagram will disable any additional selections and prompt you to "Connect Individual" customer or "Connect Group" customer.
At this step, you can either connect an existing customer's information, or create a new customer record.
To search for an existing customer, you can enter their last name, email address or phone number.
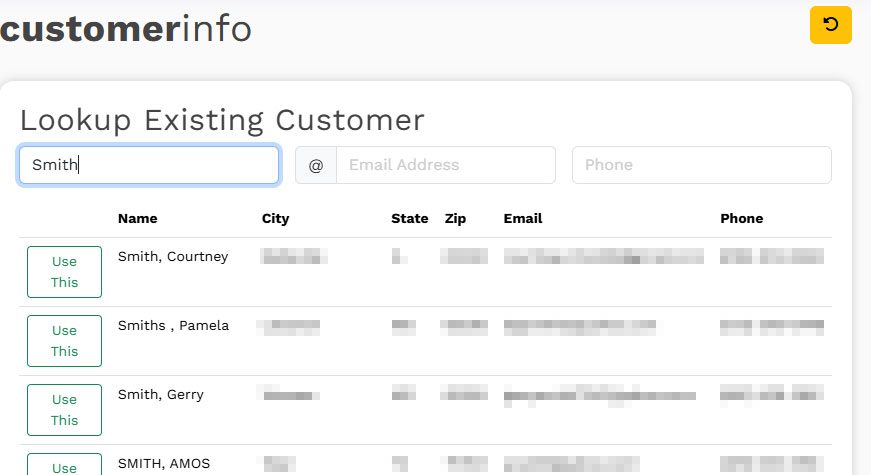
When you've found the matching customer, click "Use This" to link the correct customer to the new reservation.
If no matching customer is found, you can create a new customer using the form on this page. You should at least enter the customer's first and last name, but it is a good practice to enter as much customer information as you can. The email/cell phone fields are necessary if you are wanting to send receipts and e-tickets.
You will then be prompted to "check out" to complete the reservation. You have several options at this step that are detailed below.
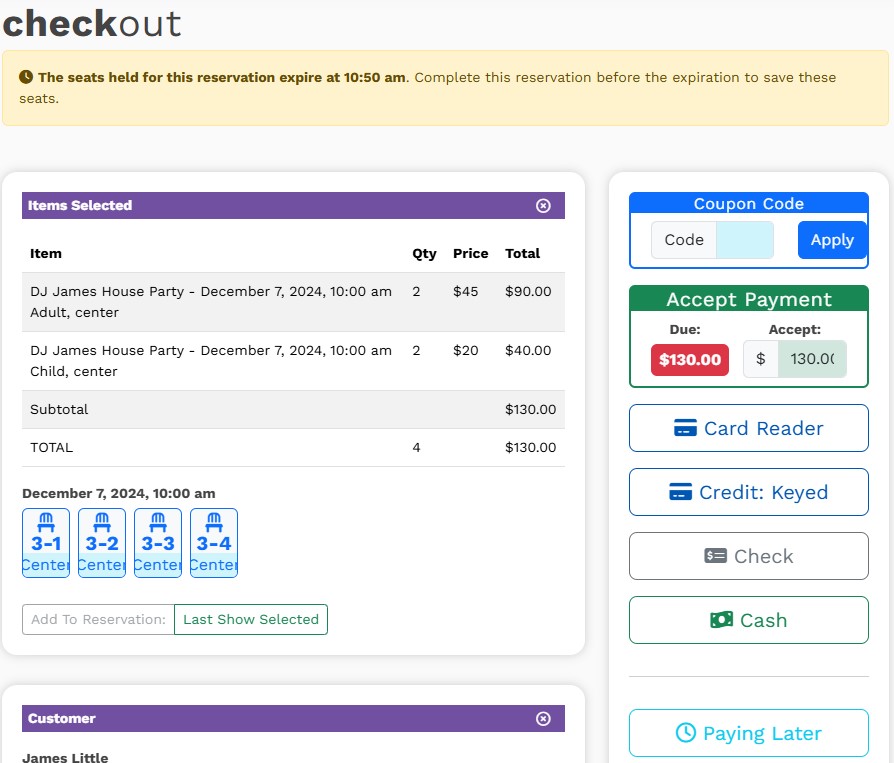
Note: The seats selections are only held for 10-15 minutes before being returned to the pool of available seats. It's important to complete or save the reservation before this cutoff to save the customer's seats.
If the customer is providing a discount code, you can enter this in the blue "Coupon Code" box BEFORE accepting payment. You cannot apply a discount after payment has been tendered.
If customer is paying now, you can click
If customer is paying later, you can click
When completing a reservation that will be billed to a reseller, you will not accept payment at this step. Instead, you are shown these options
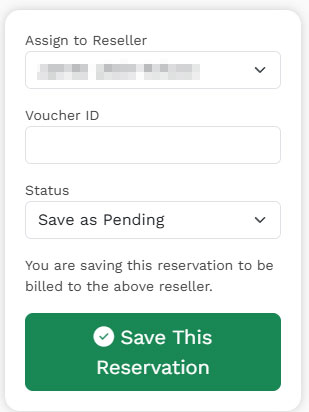
You should verify that the correct reseller is selected in the dropdown, and you should enter the third-party's voucher ID or tracking ID if you have that information.
If no more changes to the reservation are anticipated, set the status to "Mark Completed/Ready to Invoice" and click Save This Reservation.
You can alternatively "Save as Pending" if the reservation and seats should be saved but the transaction is not ready to be sent for billing.
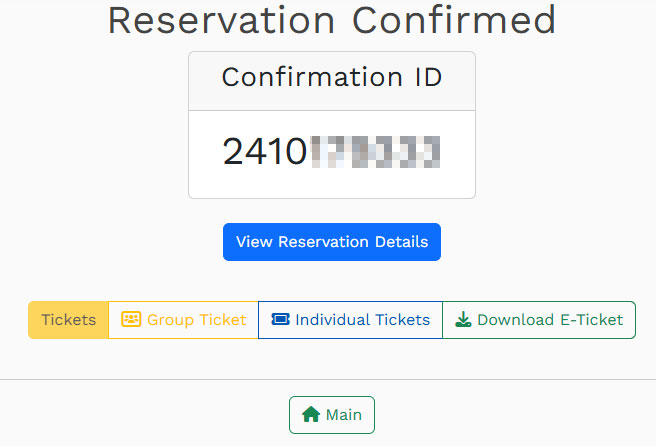
If you completed a reservation, you'll see a page similar to this, where you can view the confirmation ID, print tickets and view the reservation details.
If you are working with a customer on chat or the phone, you should provide their confirmation ID as a reference number.